|
invent!ory ULTRA 2013 Help |
||
|
Adding a New Purchase Order |
||
|
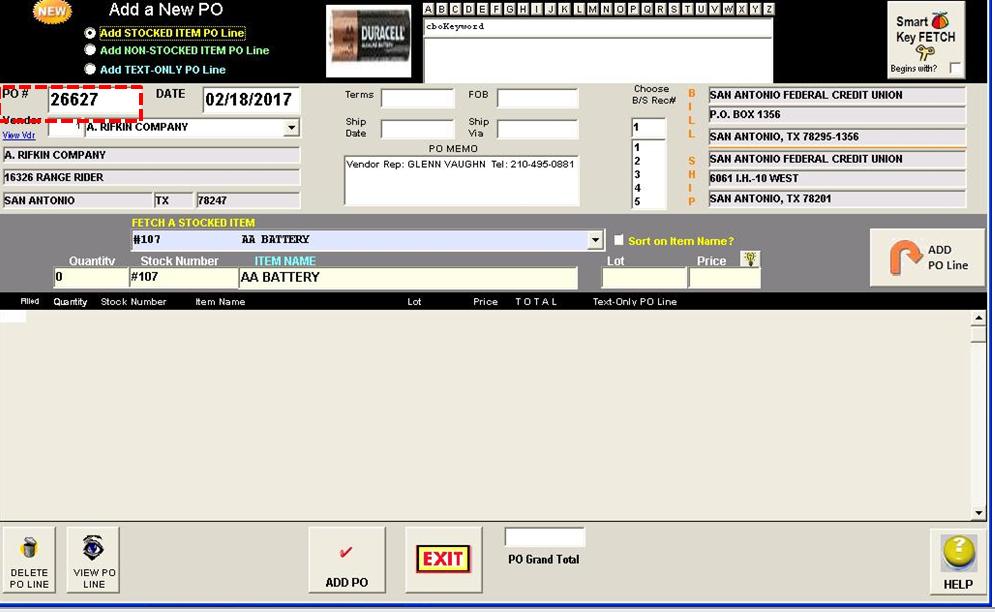
There
are a lot of bells and whistles on this form and, at first blush, it looks
intimidating, but adding a new PO is really quite easy. First,
you simply fill in the fields that uniquely
identify the PO itself (PO #, Date, Bill/Ship record, optional terms
fields) then you input the PO LINES to
order. |
||
|
PO
IDENTIFIER FIELDS |
||
|
These
fields are: ·
PO # ·
PO DATE ·
BILL/SHIP ADDRESSES ·
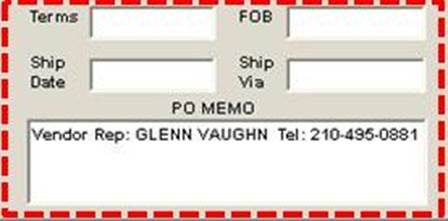
OPTIONAL TERM fields First,
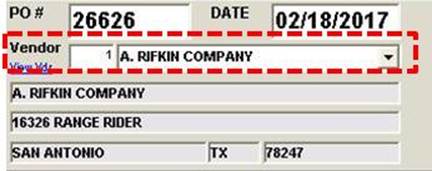
the PO# and DATE fields are already filled in for you. The default PO for a new PO is the next consecutive PO #. ULTRA keeps
track of the sequence so you don’t have to remember the last number. For an out-of-sequence PO #, just type it
in.The default PO Date is Today's
date, which you may override by typing in another date
|
||
|
Next, you need to choose the PO
Vendor Number from whom you are ordering the merchandise.
|
||
|
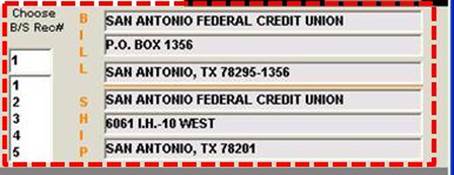
Then choose the BILL/SHIP TO
address record you want from the list box. These addresses tell the
vendor where to send the goods and invoice.
The BILL/SHIP addresses must be setup beforehand using Main Menu|Purchase Orders|BILL/SHIP: Add |
||
|
|
||
|
ENTERING
THE PO LINES TO ORDER |
||
|
Next,
you specify the what you want to order.
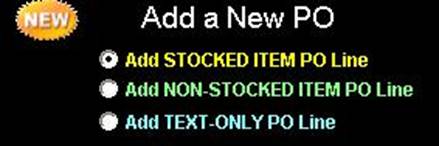
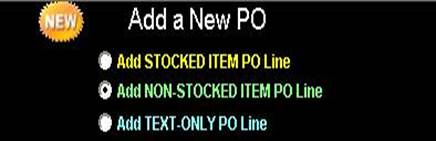
To do this, you must select the TYPE OF PO LINE you wish to add from the PO
LINE SELECTOR (below).
There
are three options shown here and, after you select one of them, you will
enter the PO LINE information in the gray PO LINE INPUT AREA (below).
|
||
|
Option 1: ADD A “STOCKED ITEM” PO
LINE
1.
Fetch
the “stocked” Supply Item
you wish to order from the dropdown List box. 2.
Fill in the Quantity and Price. * 3.
Hit “Add PO Line” button 4.
The PO Line appears in the grid (below).
*
Note:
The system automatically enters the Lot
of “8-Pak” and suggests a Price of 5.94 based on the last price on
file for the item. |
||
|
|
||
|
Option 2: ADD A “NON-STOCKED ITEM” PO
LINE
1.
You simply input the item’s quantity,
description, lot, and price. 2.
Stock Number field is stamped with “NONSTOCKED”
which you can change if you wish but we don’t recommend it. 3.
Hit “Add PO Line” button 4.
The PO Line appears in the grid (below).
|
||
|
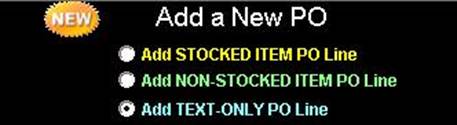
A Text-Only PO Line is the way to do
this. Type in your text (80 chars max) in the box (below). |
||
|
Option 3: ADD A “TEXT-ONLY” PO LINE
|
||
|
|
||
|
Here’s how the
80-character PO LINE looks in the actual printed PO.
|
||
|
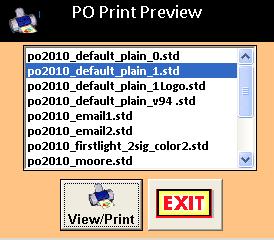
To add the PO,
click the “ADD PO” button.
|
||
|
The formatted
PO appears in the Crystal Report View/Print window (right). |
Crystal
Report command buttons: Along the bottom of the screen you will find these
functions. |
|
|
When you click
“EXIT” in PO PRINT PREVIEW, the Add
New PO screen is cleared and the PO # is incremented by one to let you
add your next PO.
|
||
|
Copyright
2017, Koehler Software, Inc. |
||